Building Your Travel Itinerary
This is a system I call “cluster mapping”. I plan each travel Itinerary by minimizing the amount of time, energy, and pain it costs me (more about my life with Multiple Sclerosis) to travel to/from and between locations.
The following section refers to resources I’ve created to help with my own personal travel, as well as my clients’. You can follow the guide below as you utilize the same resources for your own trip.
**If you are coming to this page for Itinerary Building, skip down to Step 2: Itinerary Building**


DOWNLOADABLE CANVA
$10
A beautiful, editable itinerary for any upcoming trip!
Get 25% Off
CANVA & EXCEL
$15
Utilize both packages for an escalated planning experience
DOWNLOADABLE EXCEL
$10
An this easy to manage excel sheet to keep you on track!
Step 1: Accessible Options
The best advice I can give for anyone planning their own trip, is to research across multiple platforms and cross exam the reviews on each. This should include a Google search, TripAdvisor photos, the business website, the business’ social media accounts, and reaching out via email and phone to a client services representative.
Consider Language Barriers
It’s very important that you speak to someone on the phone to confirm your options and what they have available. Because of the language barrier, you must keep in mind that some words or phrases can get lost in translation. This is crucial for accessible travelers because we do not have the time, energy, or resources for confirmations to get lost in translation. We need certainty and no surprises. So with that, you must speak with someone and ask MULTIPLE times what EXACTLY you are getting. Tell them as many details as possible, because these are important factors to discuss.
And by as many details as possible, I mean walk them through your entire day and what you need for every step of the way. You will literally need to hold their hand through this step in order to paint the picture for them. And that’s okay! It’s better to be overprepared than underprepared and ruin your trip because you didn’t ask enough questions or didn’t state exactly what you needed.
Written Confirmation as Proof
In addition to speaking on the phone, you should get their written confirmation of what you’ve agreed on and a detailed summary of what you discussed. This is so you have proof to show 1) what you discussed 2) what you are needed and 3) what you were told would be available to you, in working condition. Request photos and video footage of what you are requesting. Again, there should be no surprises.
If there are surprises, you need proof of what was agreed to. And unfortunately, Europeans will always say something is fine or ‘yes they have it’, because they are sweet and yeah they might have a ramp that you’re asking about. However, they don’t think through the key details and put themselves in your shoes when it comes to that ramp, or accessible shower, or low bed. They just assume it’s fine and it works. So don’t be afraid to ask multiple times and to speak to multiple people, because it is worth knowing what you’re getting yourself into.
Step 2: Itinerary Building
The most important thing to consider when planning an itinerary aside from booking accommodations and activities with accessible options, is the itinerary structure.
Taking the extra time to sit down and review the proximity to/from your places of interest is totally worth it. My favorite way to plan a daily itinerary is in the following order:
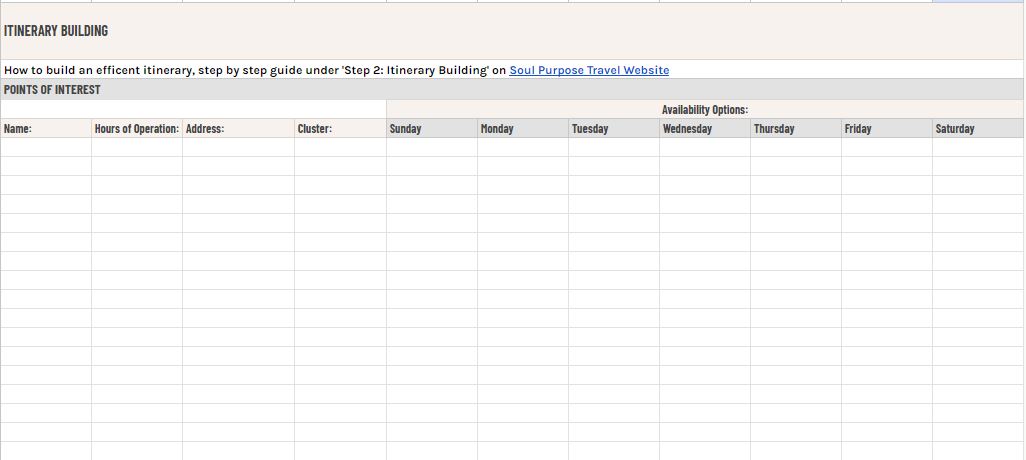
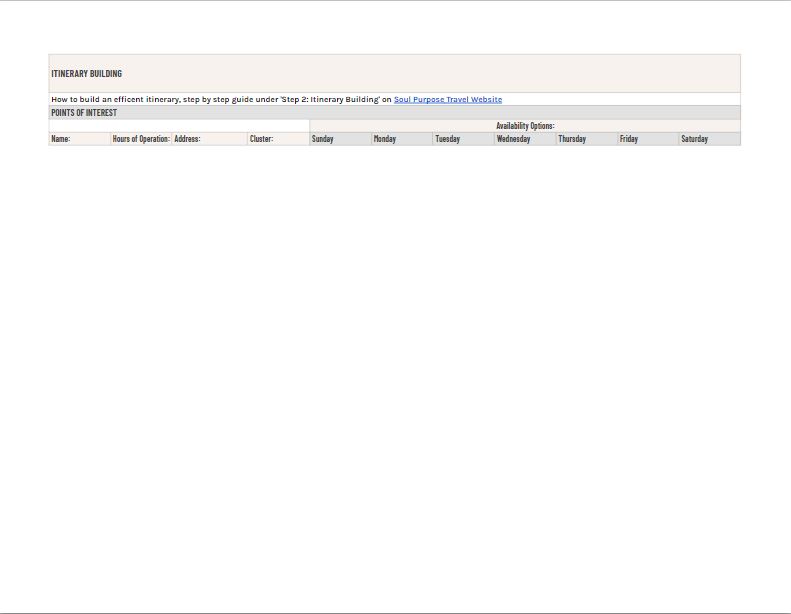
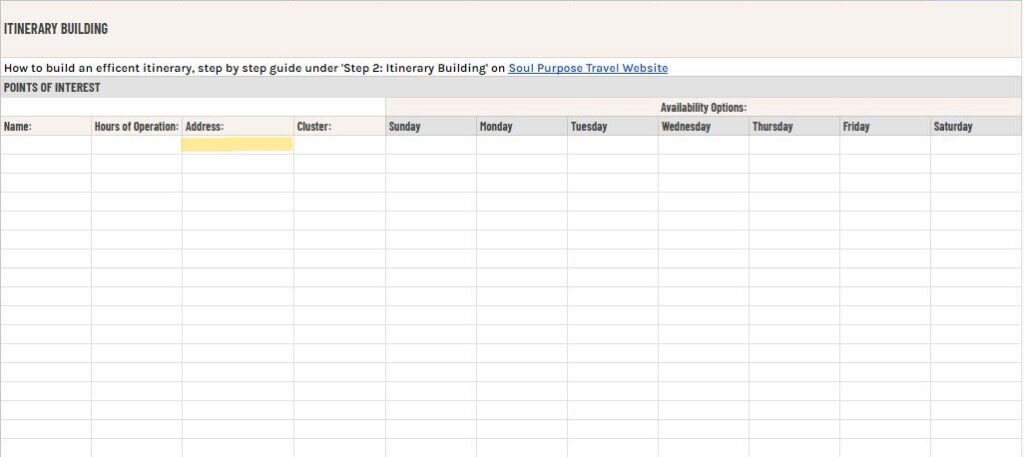
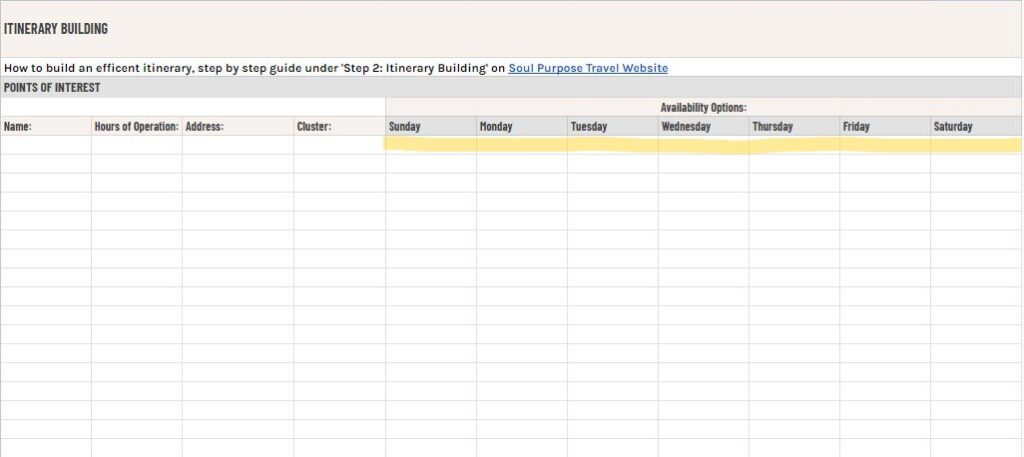
1) Days Open/Hours of Operation
This is a simple Google search, but write these down in the yellow section below. Many European businesses will take one day off during the week and they all differ in days. Keep this in mind before planning to go to a restaurant on a day they’re closed. Also check the EU holiday calendar to avoid showing up on holidays like ‘Bank Holiday’.

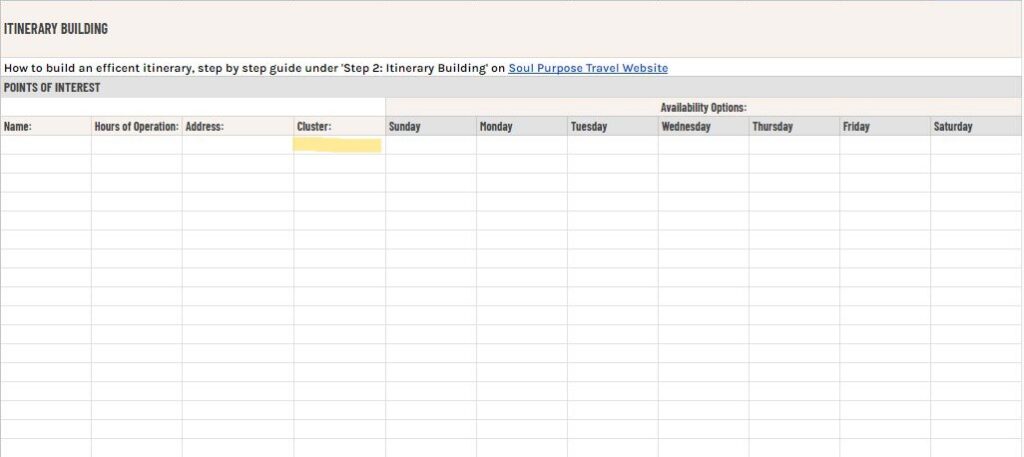
2) Location of Business
Do this simultaneously as step 1 above. Once you’ve found the Google address, save the Google pin. It’s also a great idea to save your search so you can keep your own record of places you’ve visited or want to visit, if you didn’t make it this time around. If you need travel recommendations with google pins already saved, check out my Travel Recommendations Catalog.
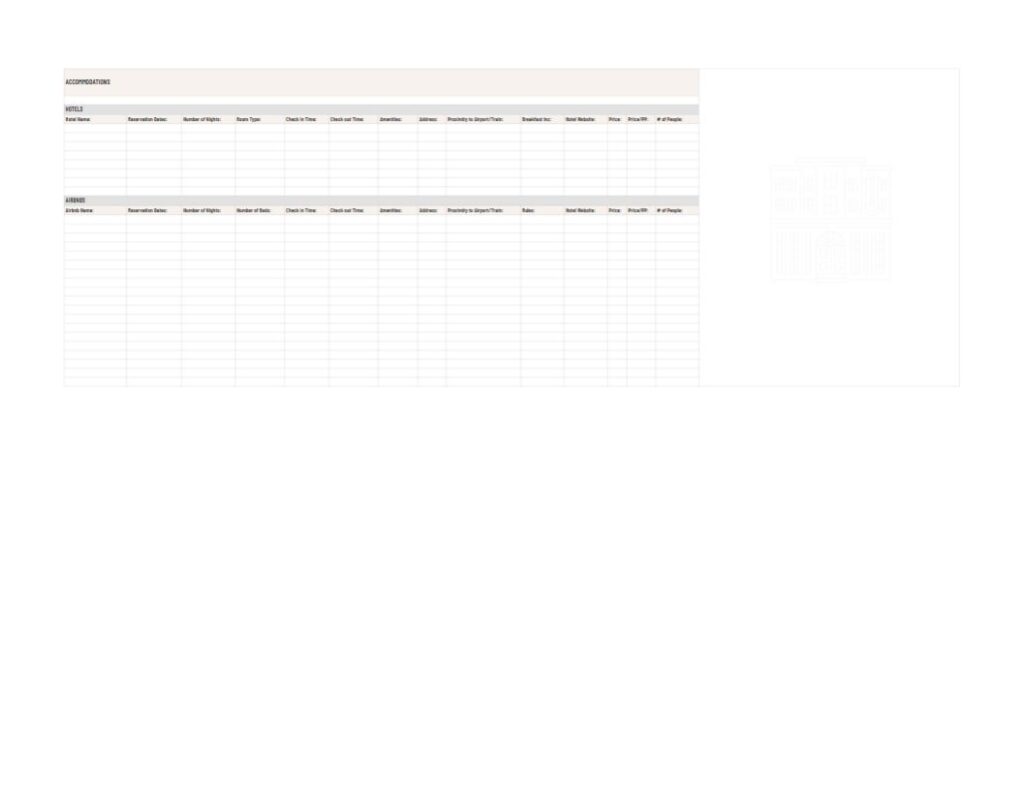
Once you’ve saved all your Google pins you can start the next phase of for this section. (For this part, I like to have my Travel Excelsheet and Google Map on side by side view). Look at your pins and group them by clusters…each cluster will represent either one full day or one half a day…you be the judge. It’s important to note, depending on the availability, you might have to revisit your clusters later in this process.
***One way non-accessible travelers can utilize this planning system if they are not concerned with proximity, is by scheduling their clusters by priority. Select your top 3 main priorities and schedule each one day, clustering any restaurants or activities around that one priority.***
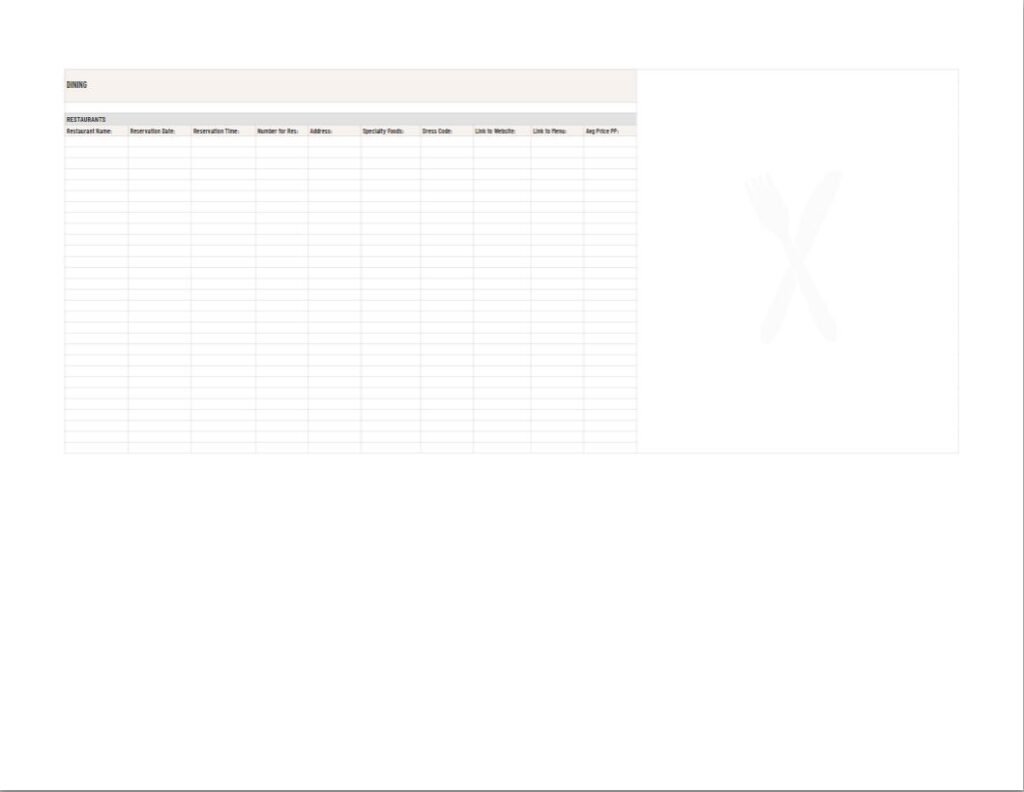
3) Availability
Next, you’ll need to either call, email, or check online for reservation times/dates available. If they have a website showing time slots available, this will be easy…write down a range of options for the week. If they don’t have this feature, you will need to call or email the business to ask their availability for the week. By not doing this step, you will find yourself scheduling at random and run into multiple scheduling issues and you’ll have to reschedule or start over. So it’s best to do the work up front and confirm after.
Once you’ve received the availability from all the places you’re interested in, you can look at your clusters and schedule your day according to availability.
4) Proximity
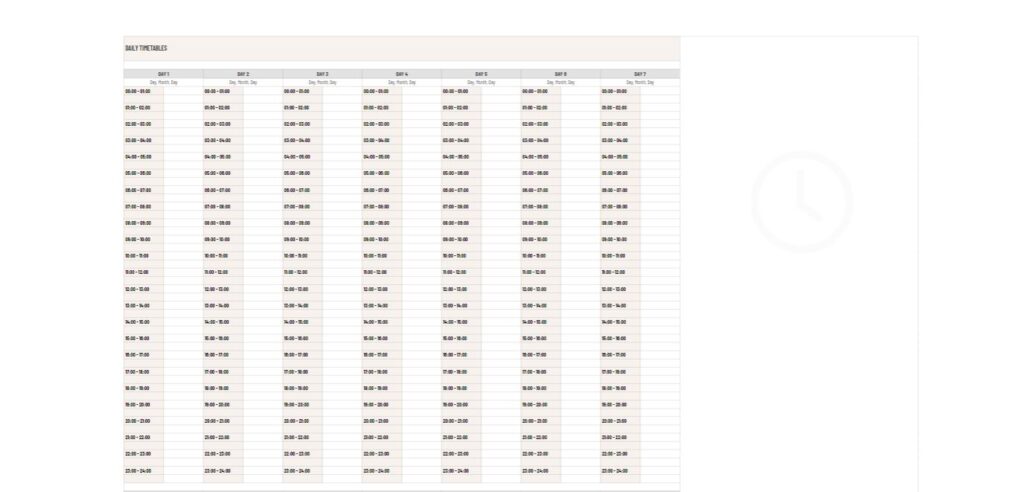
After you’ve created your clusters you might notice a few outliers or groupings of museums & restaurants located in one area or another…this is where you’ll use step 4 and your own judgement to schedule or reschedule the clusters. You can start determining the layout of your day and the proximity it takes to get to/from and between each pin. I like to break the day into 3 parts: morning (before lunch), afternoon (after lunch up to before dinner), and evening (after dinner) when putting together my itinerary.
Group Clusters
Look at your cluster areas and confirm you have enough restaurants available for either lunch or dinner for these days. If you don’t, confirm which meal matters more to you from the restaurants you have listed, and schedule those into your Travel Itinerary Template. If you still don’t have enough you can either rearrange options into this cluster, OR, hold space for lunch/dinner and find a nearby restaurant either at a later time, or when in the area.
Repeat the same step with all your activities…see what parts of your day fit with each activity’s availability. A great rule of them is to schedule no more than 1 activity per part of the day (adjust the number based on your own energy and pain levels). For example, if I were considering my body and how it gets tired in the afternoons I would plan a longer museum in the morning, followed by lunch, and either one activity in the afternoon (or rest time scheduled here), followed by dinner. The activity in the afternoon would need to be something low energy out of the sun, and in close proximity to the hotel.
You’ll notice as you schedule your clusters based on availability and parts of the day, that you might need to rearrange a few map pins in order to best fit your itinerary. This is also a really good way of determining what your top priorities are in each city. Some of your priorities might take a lot of time or energy because it’s the farthest in proximity, and you’ll need most the day to attend it. That’s fine, so long as you don’t over schedule yourself afterwards.
Benefits of this Method
By scheduling your daily activities in clusters, you will minimize the distance traveled between scheduled events, which is the most efficient use of your time, energy, and money.
Without this method, you face scheduling yourself across different areas of town throughout the day. By doing this, you will spend more time and energy traveling between locations, which can potentially increase fatigue, pain, or other worsening symptoms.
Not only are we interested in scheduling an efficient itinerary so we can make the most of our days abroad, but we also want our itinerary to limit the worsening of our symptoms any chance we get, so that once we return home from our travels, our recovery from traveling is minimal.
So, take my tried and true process and follow this method. It is the easiest way to plan a day and keep track of alternating hours of operation, availability, and priorities when traveling.
Step 3: Schedule Breaks/Rest Time into your Itinerary
When creating your travel itinerary it is vital to plan for breaks and rest time between your activities. Especially if the weather is super hot or cold…the temperature can impact many disabilities and symptoms.
How might you “schedule” in rest time on vacation? This could look like a relaxed morning at a café and stroll through the local market. Or an afternoon tea and, if possible, reserving time at the spa to rest your body before dinner. If you’re less excited about planning in breaks or rest time on vacation, you can also look up a couple relaxed spaces with live music or cute décor and plan to lounge there with a hydrating drink instead. Rest doesn’t have to be boring. Rest is proactive and an important feature for anyone, especially accessible travelers.
For more information on how to plan a successful Group Trip, no matter how many travelers you have, see How to Plan a Successful Group Trip, for a step by step guide.